
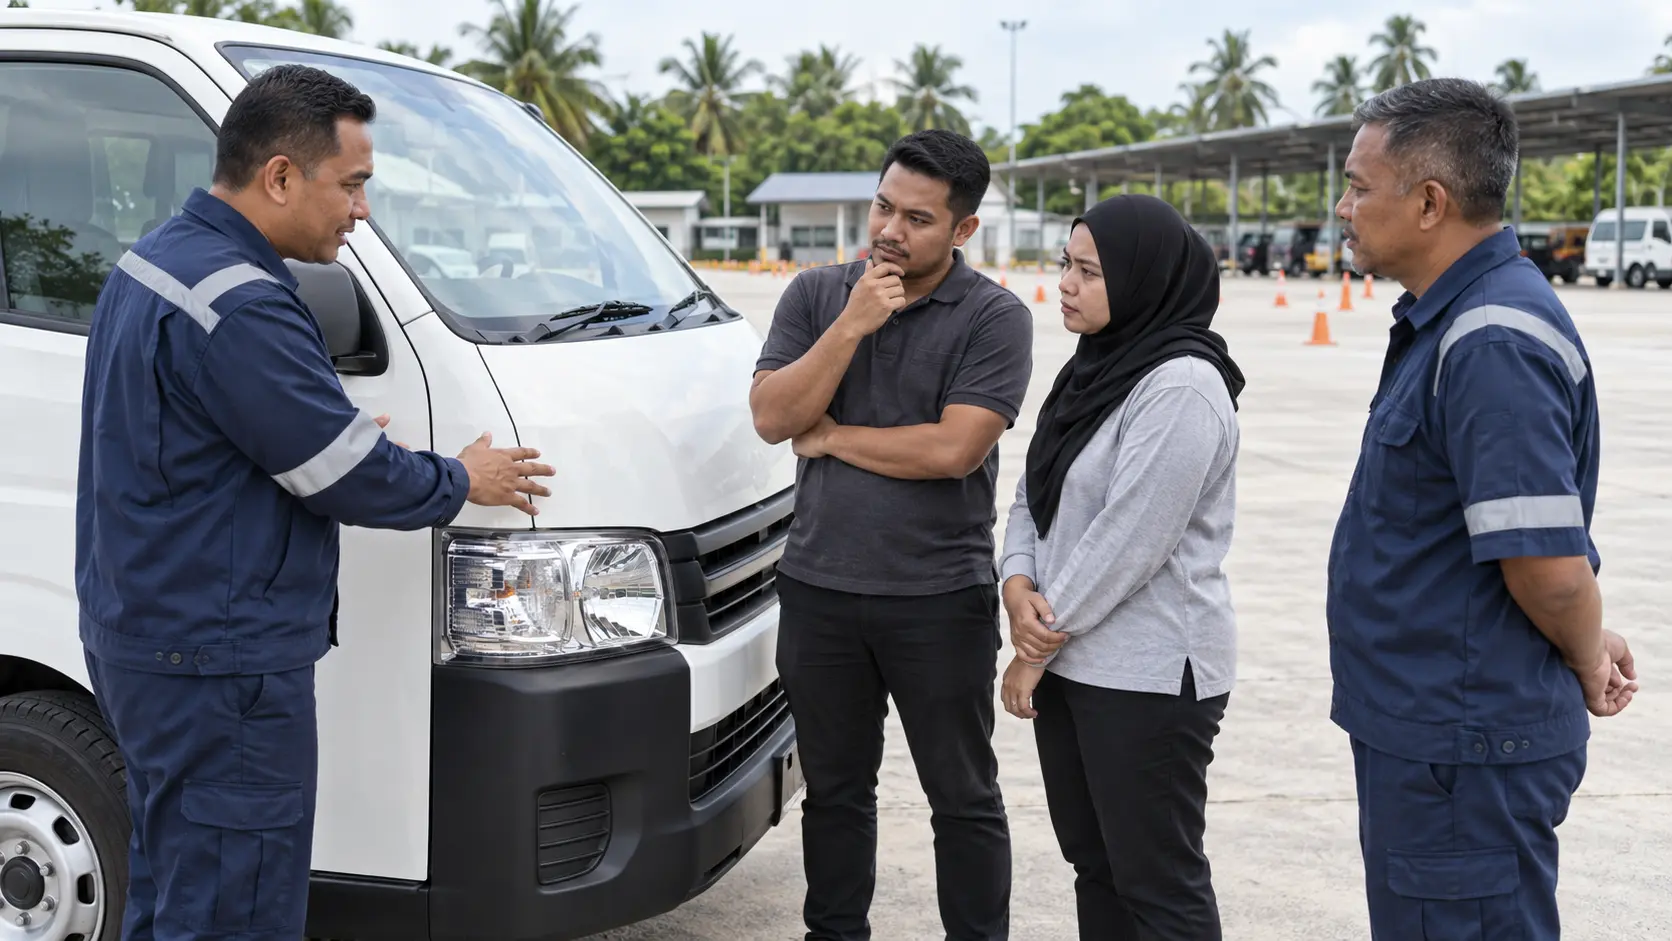
A pre-trip vehicle safety inspection checklist helps fleet drivers spot visible defects and check essential functions before a work journey. Use it in a consistent order, record what you find and resolve concerns before departure.
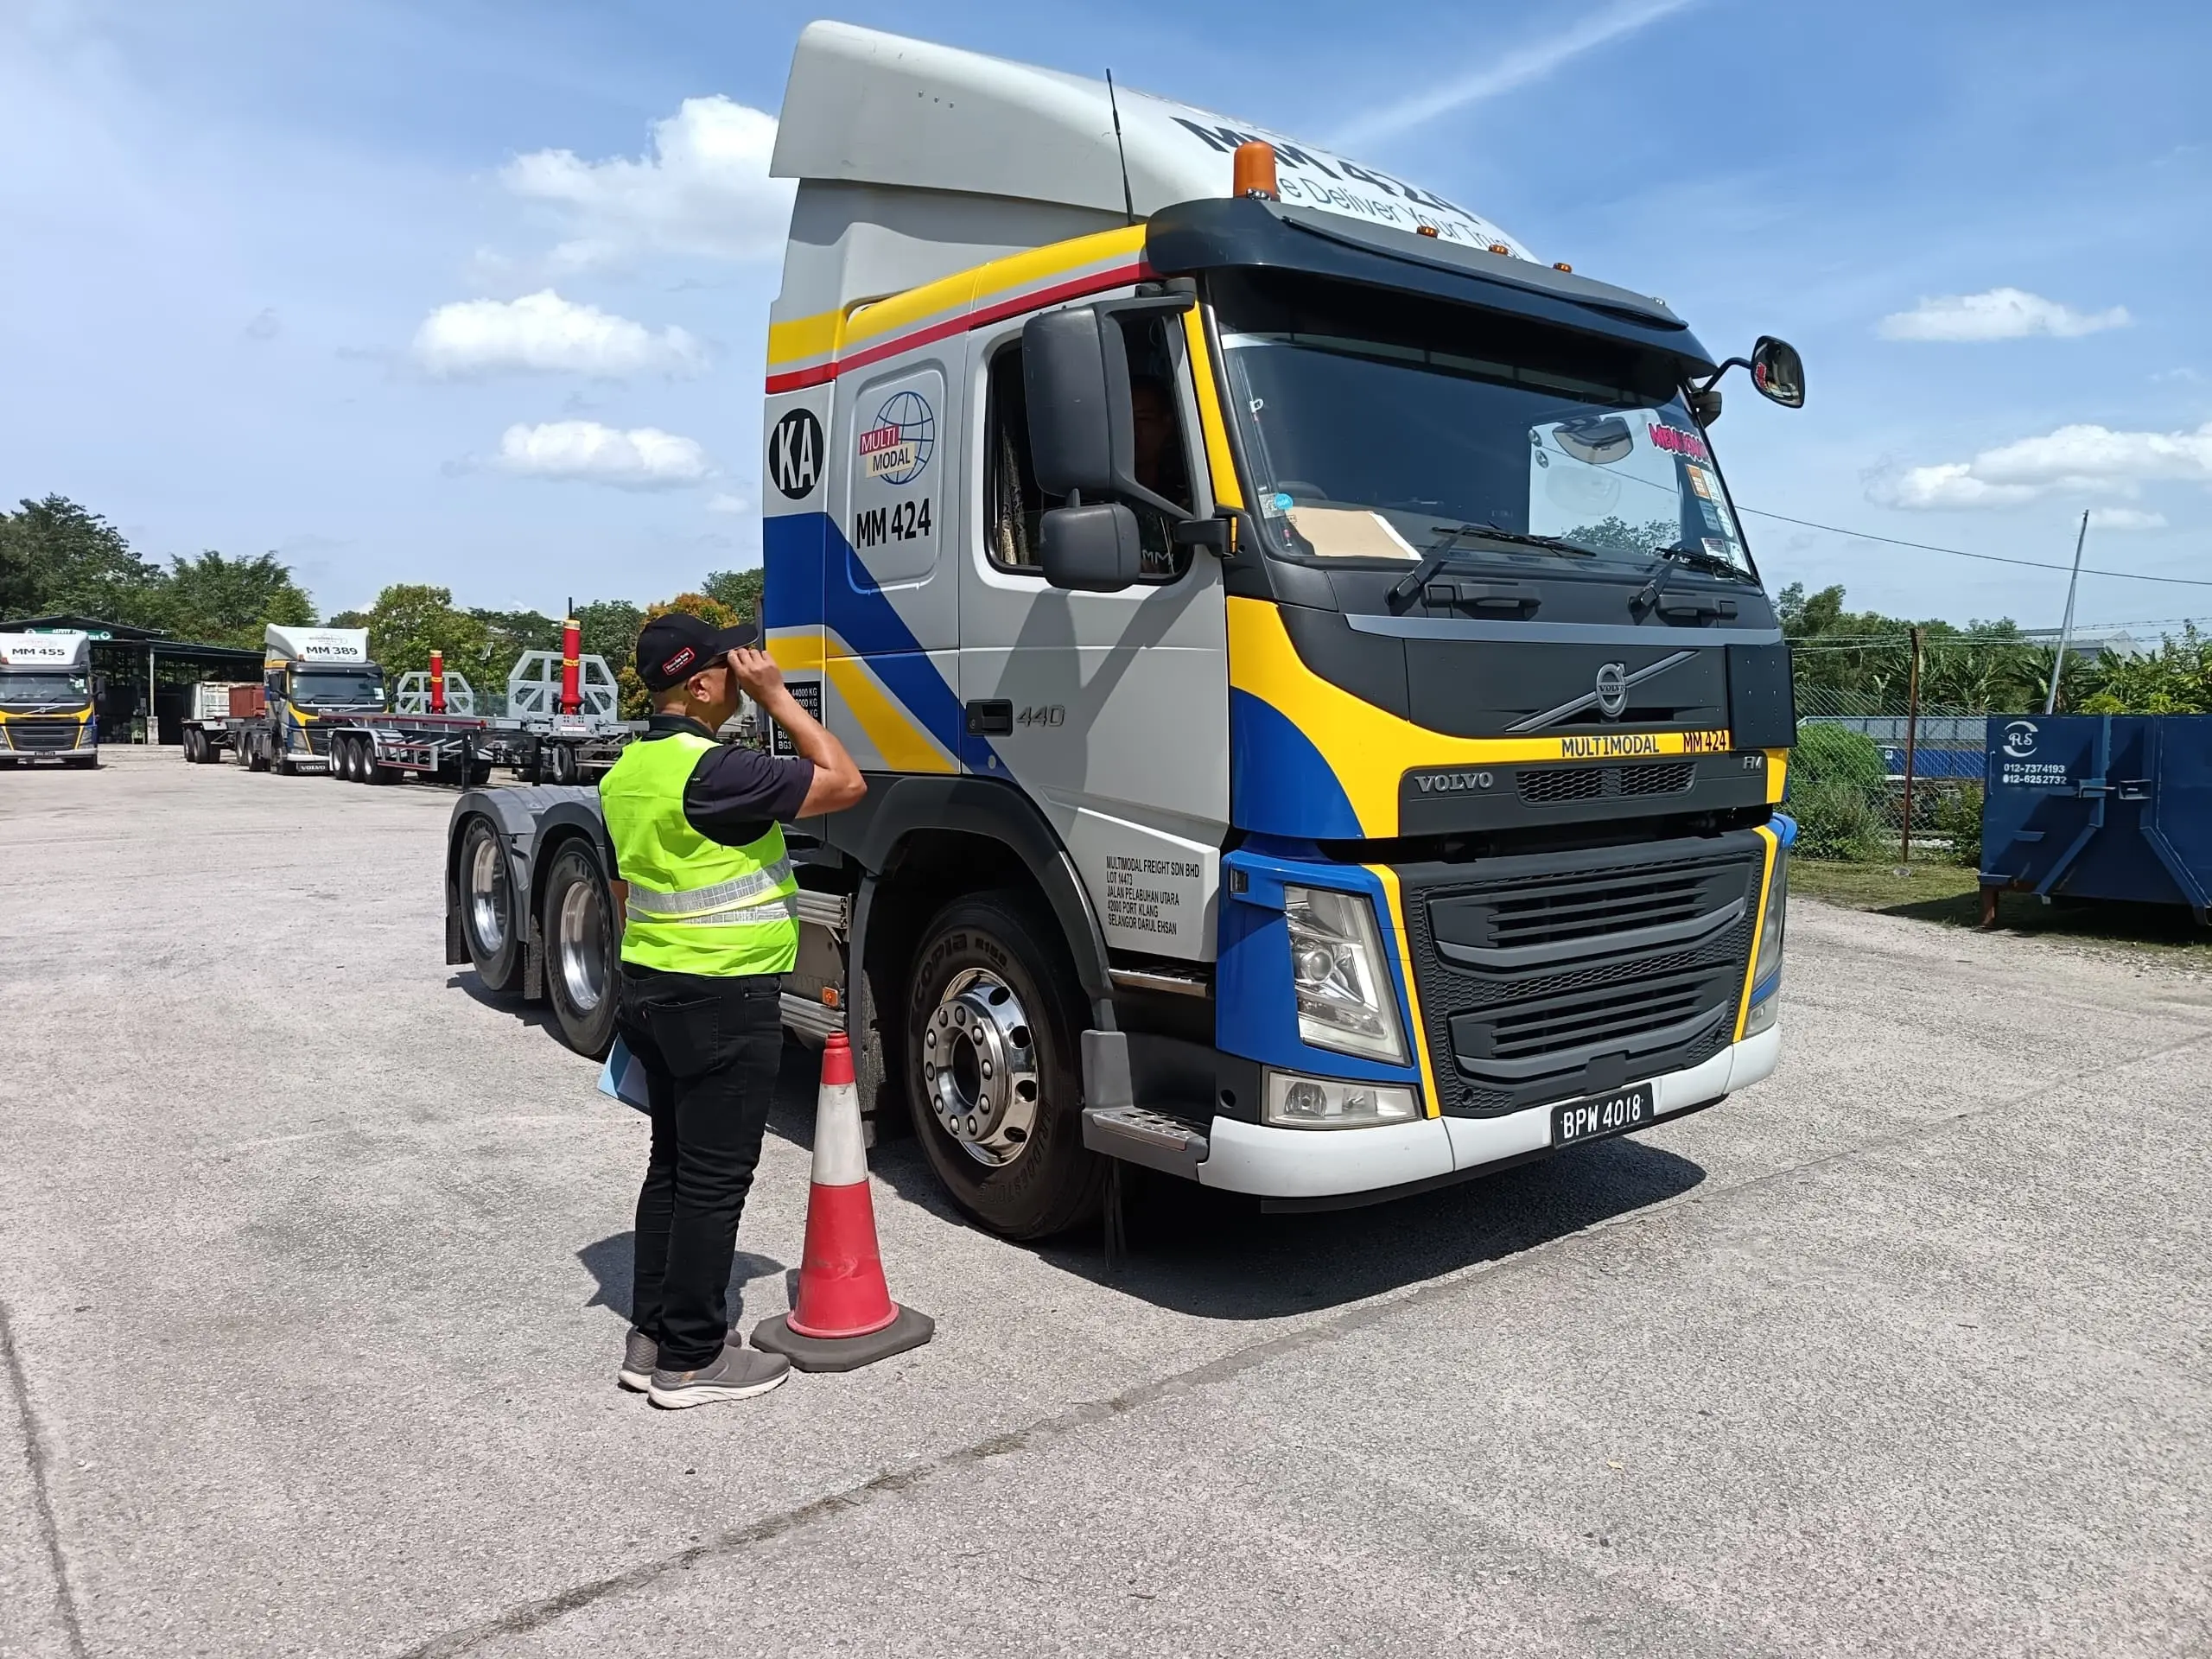
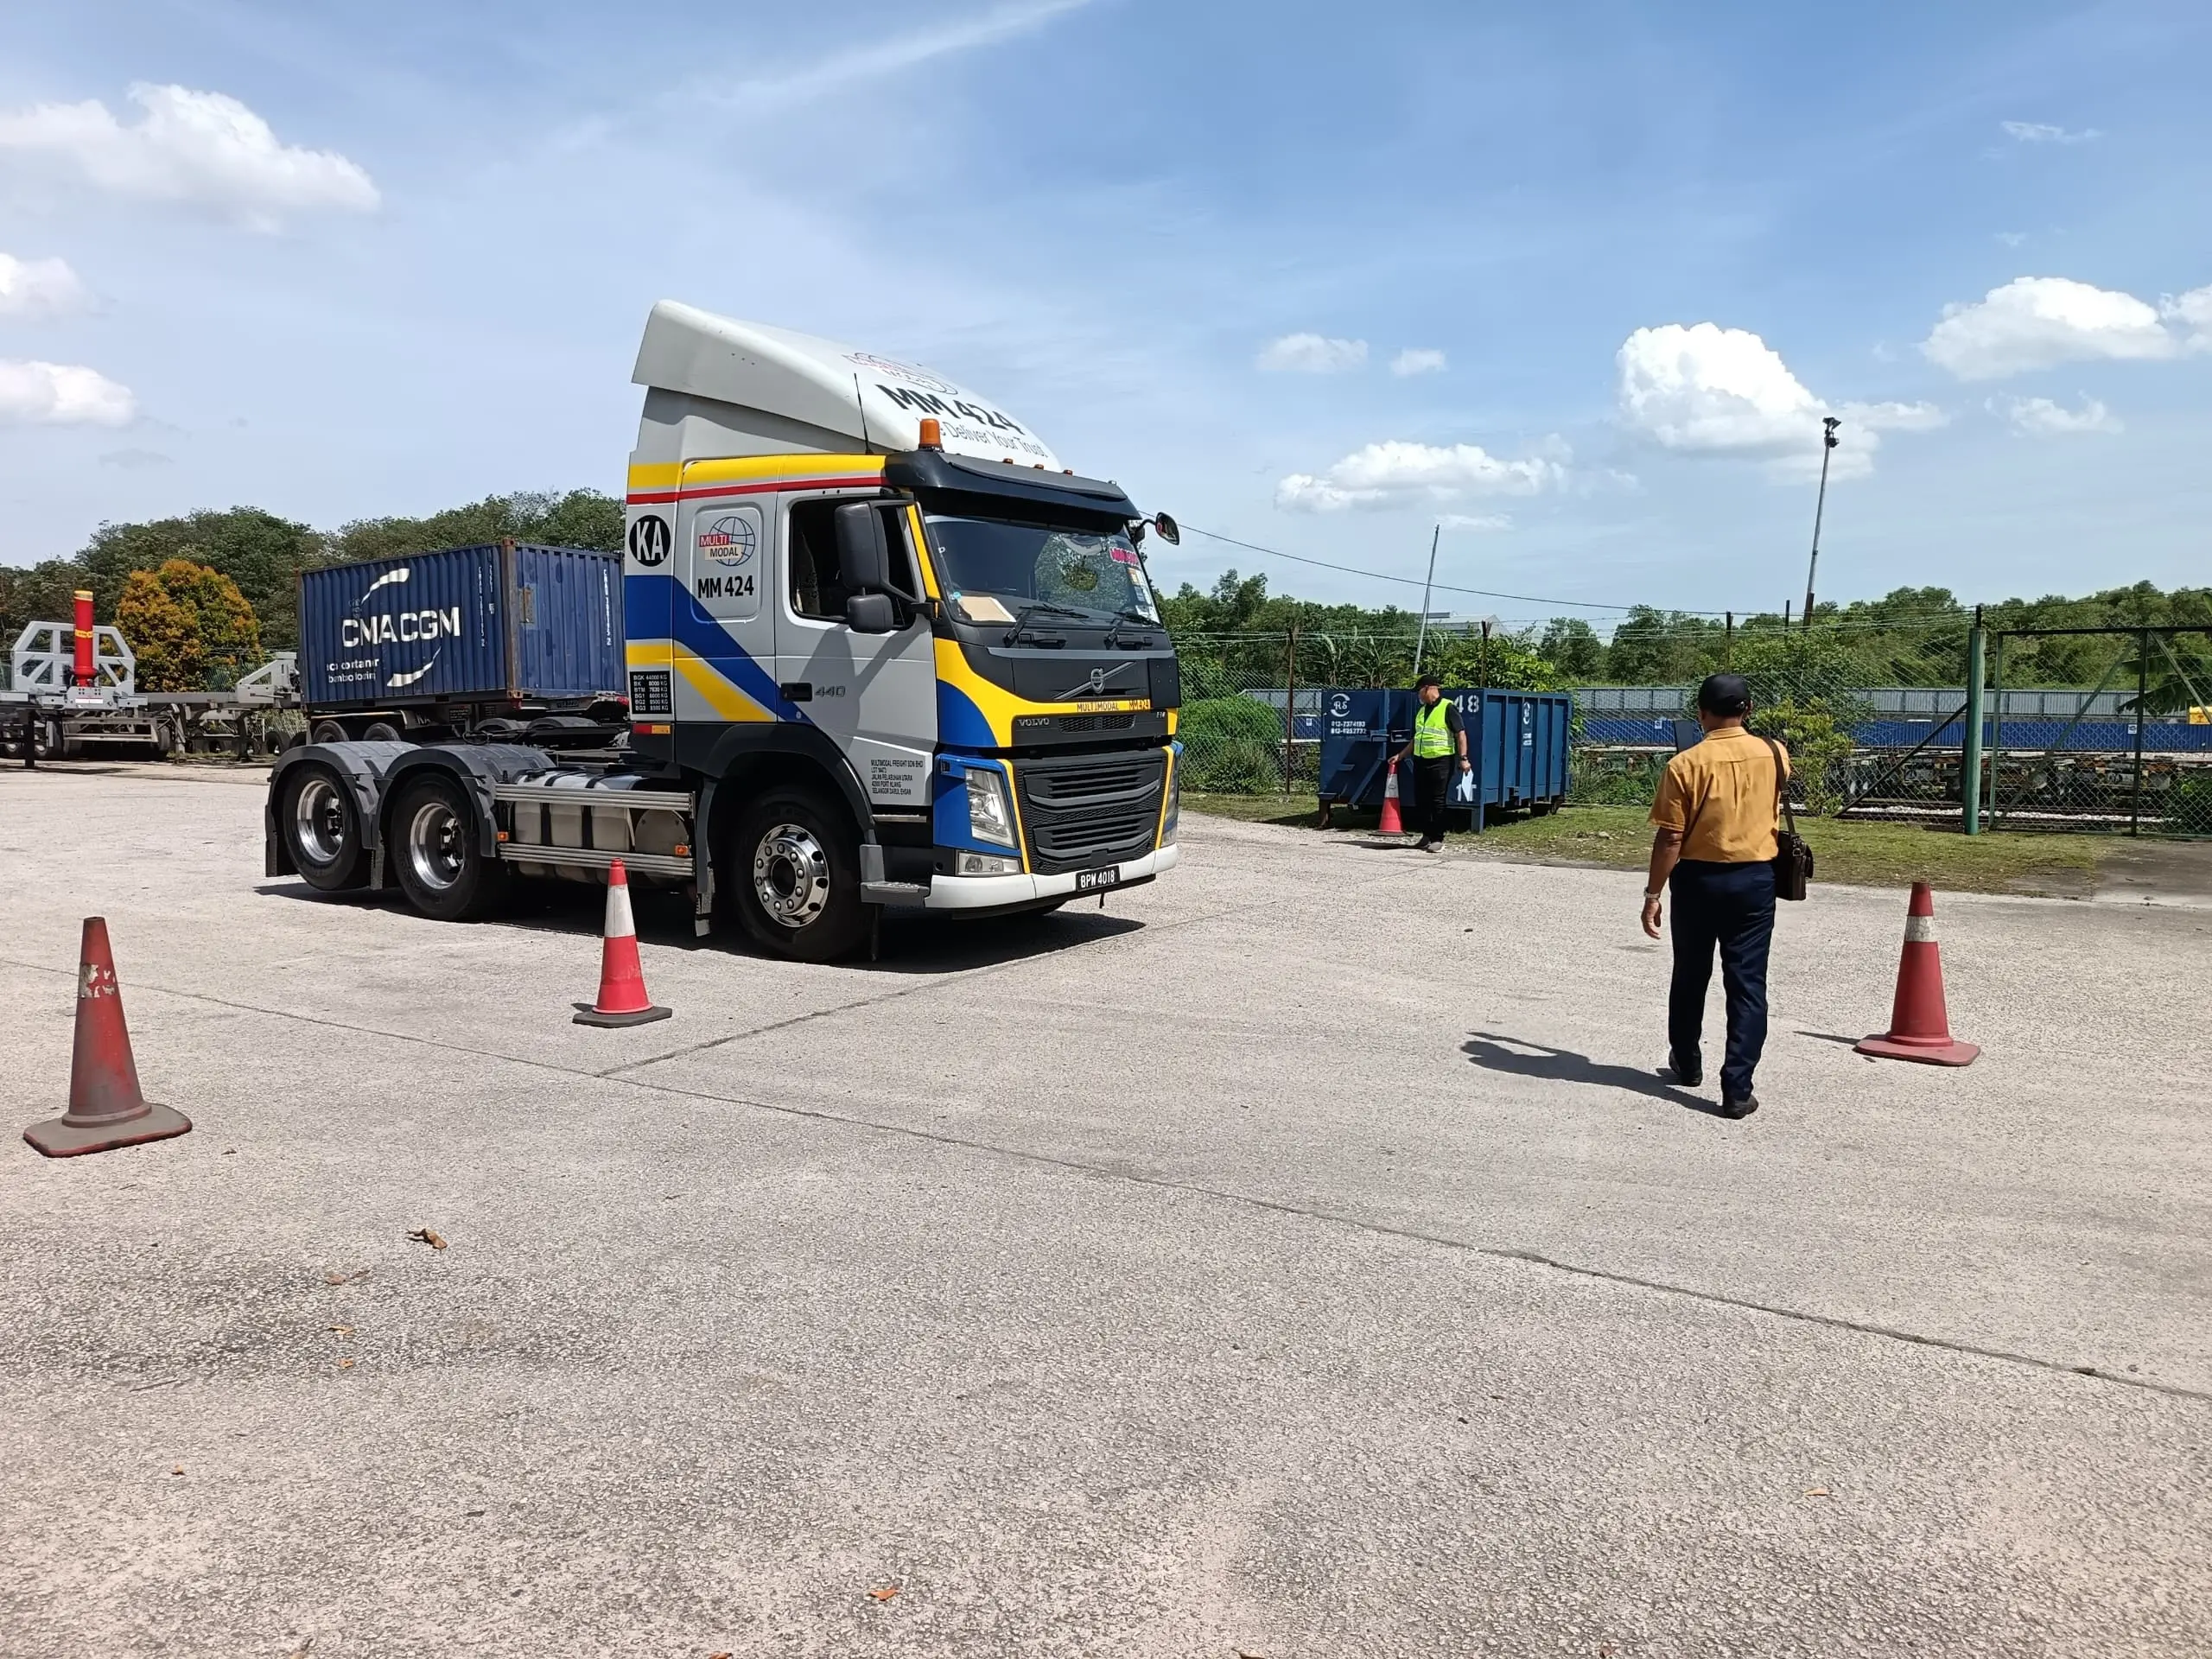
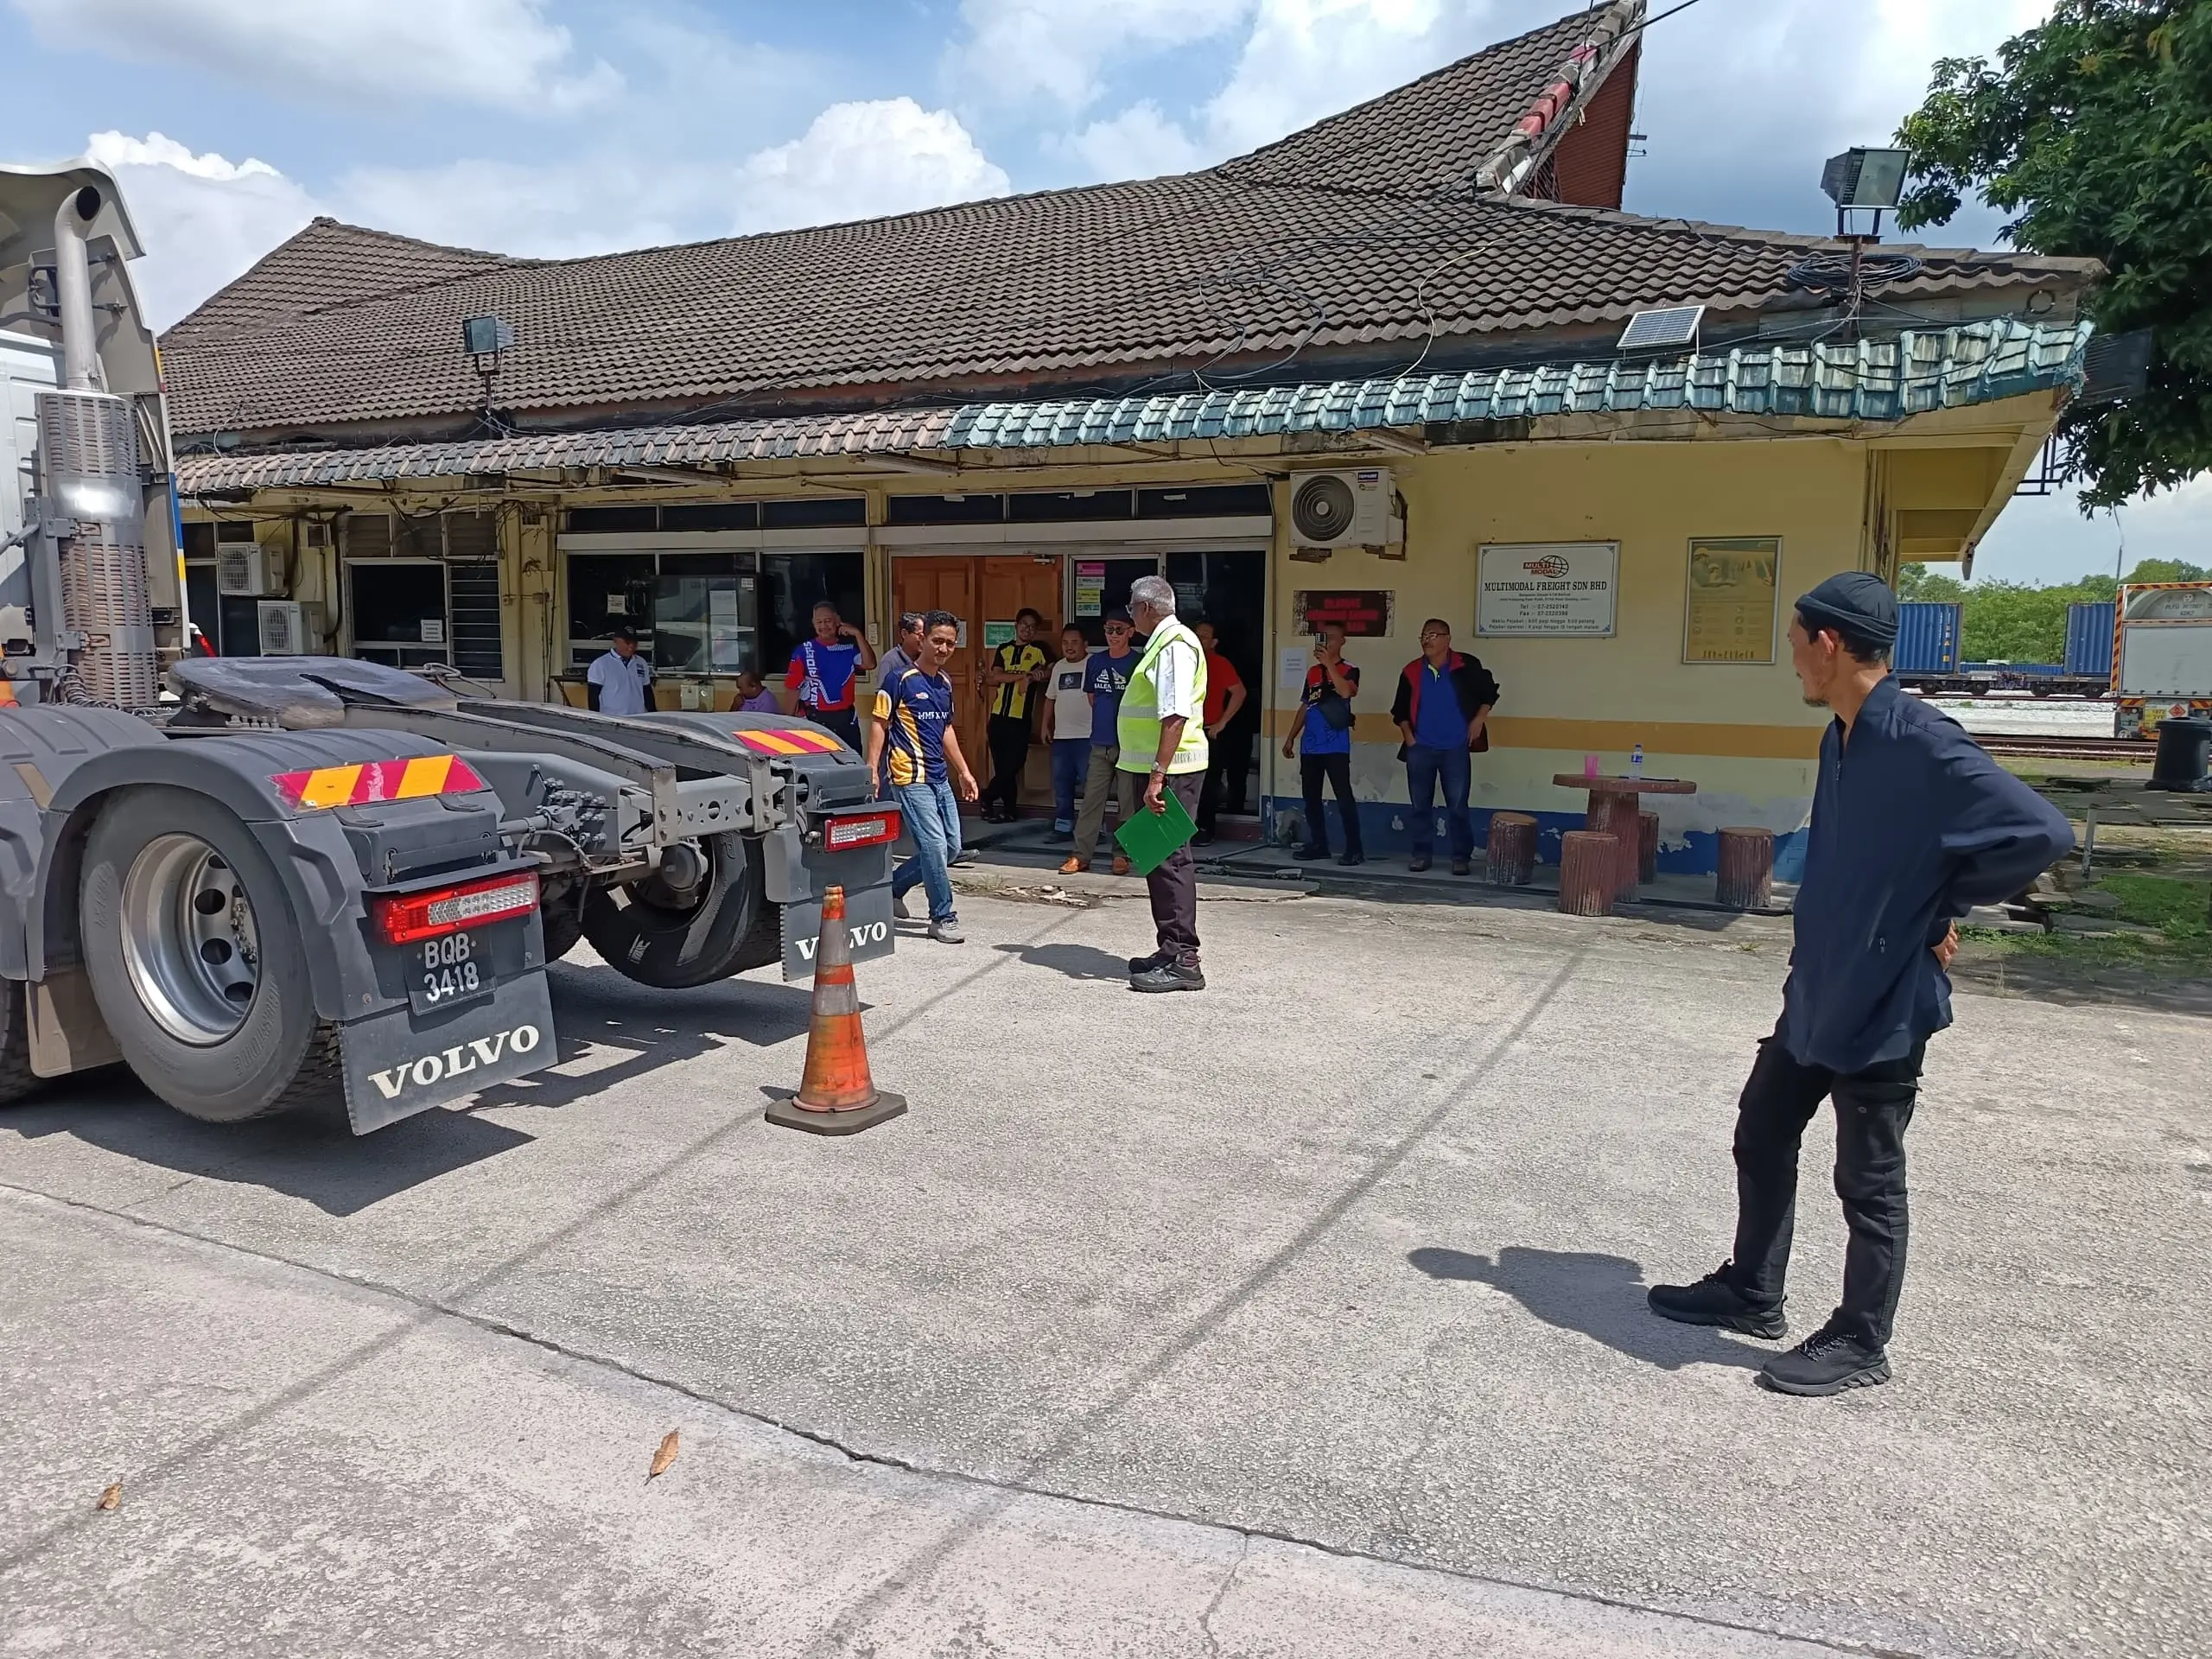
This guide is a starting point for Malaysian fleets using cars, SUVs and light vans. Your fleet manager should adapt it to the vehicle handbook, equipment and operating conditions. Heavy vehicles, trailers, air brakes and specialist equipment need additional vehicle-specific checks.
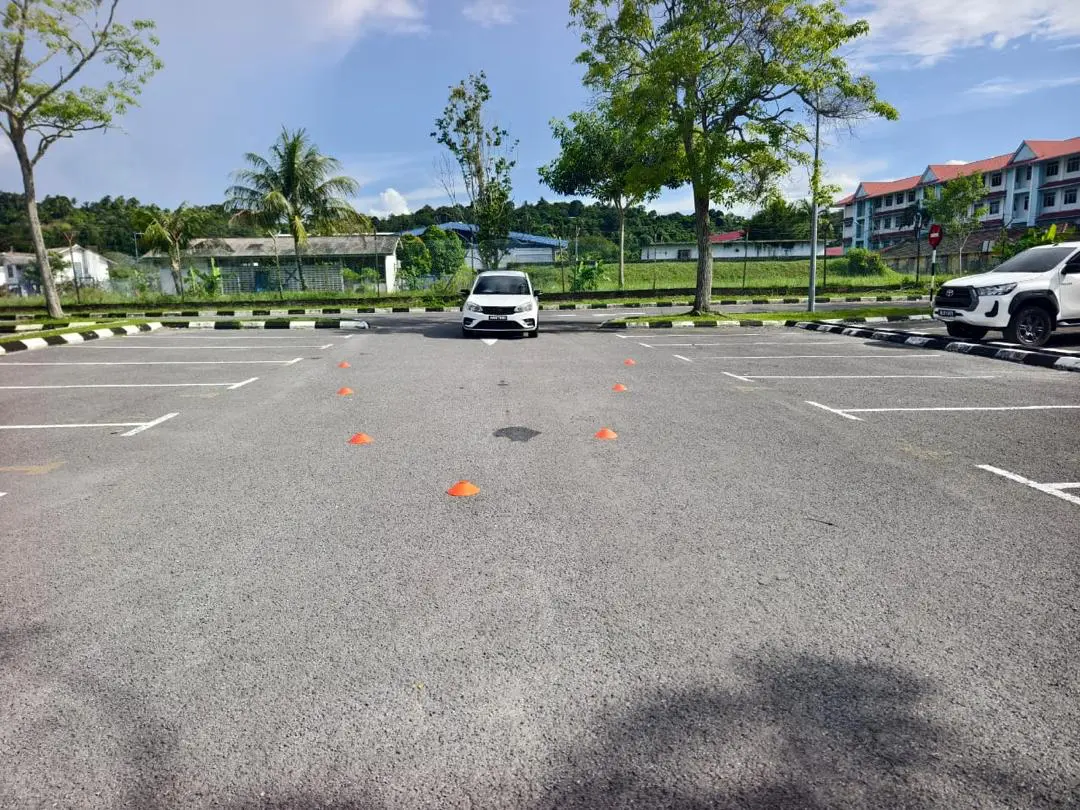
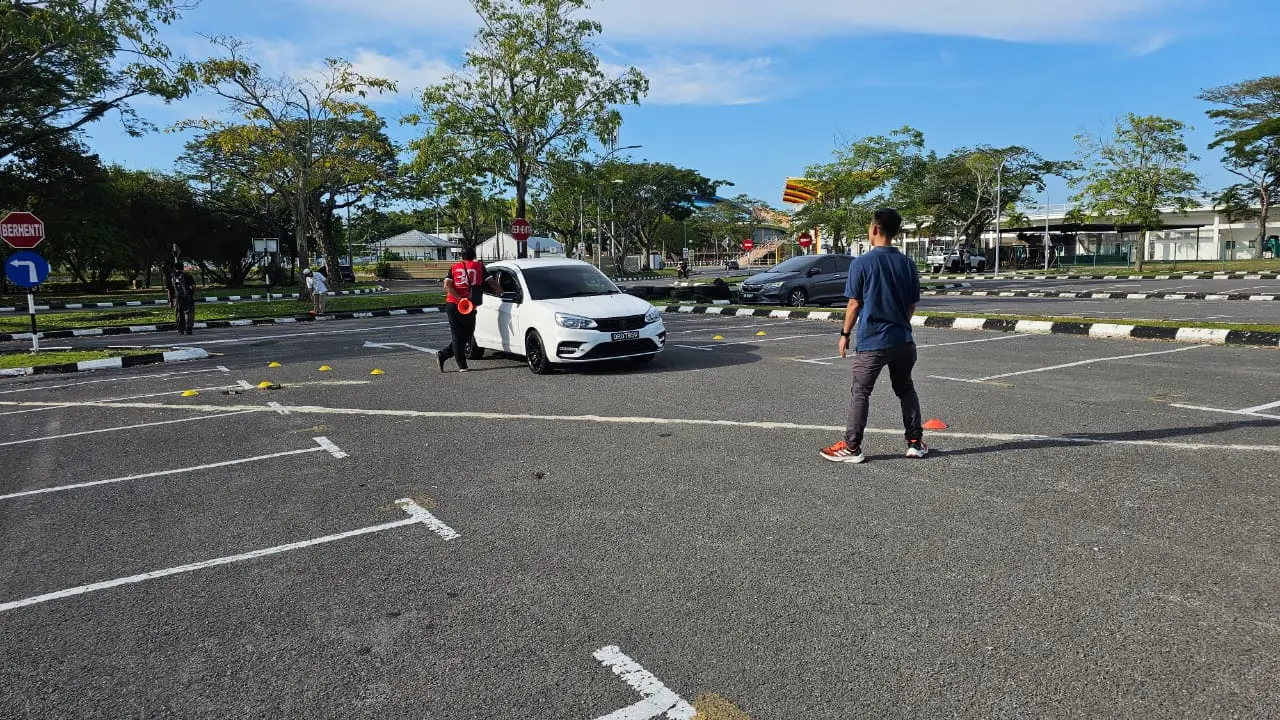
Choose a designated parking area away from moving traffic. Secure the vehicle with the parking brake and the appropriate transmission setting. Follow the handbook for engine-off checks and any checks requiring power. Arrange help for checking lamps safely; nobody should stand in the vehicle’s travel path.
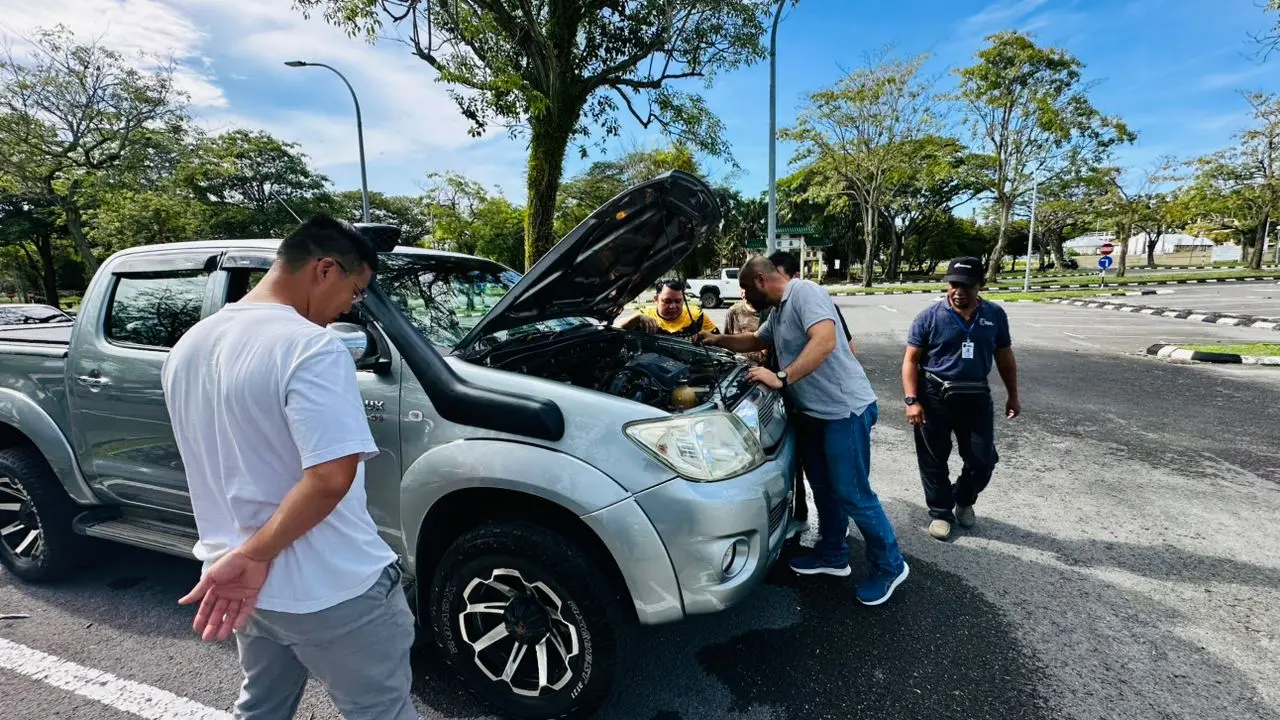
Keep the inspection within your training. Do not crawl beneath an unsupported vehicle, open a hot coolant cap or handle high-voltage components. If access is unsafe or you cannot complete a check, record it as incomplete and ask for support.
For each item, record checked—no defect observed, defect found, not applicable or unable to check. A blank field should never be treated as a completed inspection.
The component checks below draw on the DVSA van walkaround guide. Its legal provisions apply in Great Britain; use the technical points with your vehicle instructions and Malaysian operating requirements.

Confirm that the vehicle matches the assignment, fuel or charge is sufficient for the planned route, and any previous defect report has a recorded outcome. Check that the fleet’s required emergency equipment is present and accessible. Set navigation while parked and establish how to contact the supervisor if circumstances change.
Where a controlled low-speed brake or steering check forms part of your approved procedure, use a designated clear area only after stationary checks are satisfactory. Do not move a vehicle to “test” a suspected serious fault. A driver check cannot establish the condition of every hidden component.
Record the symptom accurately rather than guessing the mechanical cause. “Brake warning remained illuminated after the normal startup sequence” is more useful than “brakes broken”. Add a photograph where it helps, taken while safely parked.
Do not depart with a suspected safety-critical fault, such as damaged steering, abnormal brakes, a severely damaged tyre or an unsecured load. Inform the designated supervisor or maintenance contact. If the safety significance is unclear, hold the vehicle pending competent assessment.
The organisation’s authorised process should determine repair, assessment and release. A delivery deadline or a verbal reassurance does not resolve an observed fault. Drivers should be able to see the outcome before taking the vehicle.

Keep one record tied to the actual vehicle and journey. Include these fields in your existing form or fleet application:
Record “no defects observed” only after completing the checks. A saved form establishes what was recorded; it does not replace checking the vehicle.
Fleet managers should provide enough time, suitable lighting and a clear reporting contact. Demonstrate the routine on the actual vehicle so drivers understand what normal operation looks like and when to seek help.
Reassess when taking over a different vehicle, after loading or when new damage or unusual behaviour appears. If a concern develops during travel, stop safely and report it. An earlier completed checklist does not cover a later change in condition.
Use repeated findings to improve maintenance and coaching. If drivers repeatedly mark an item “unable to check”, find out whether access, equipment or instruction is missing. Useful follow-up makes the routine easier to complete accurately.
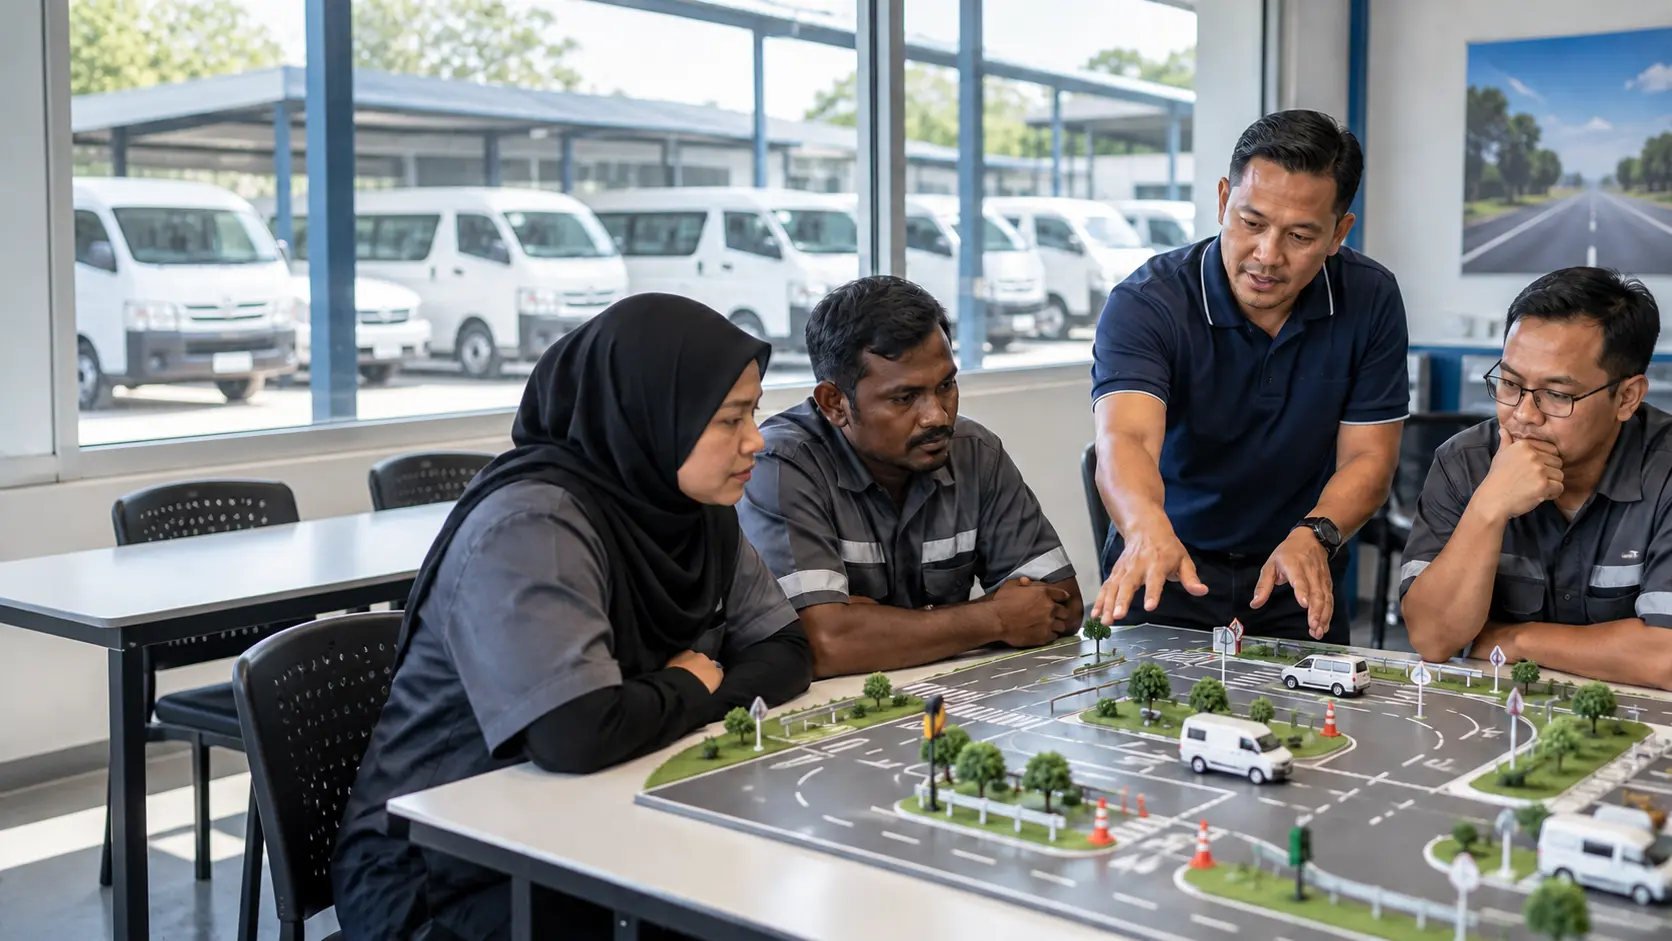
ADHINS provides road transport training. Discuss practical vehicle-readiness training for your fleet with ADHINS, including the vehicles used, driver roles and checks your organisation expects.
Allow enough time to complete every applicable item properly. Vehicle size, equipment, access and defects affect the time needed; a universal minute target can encourage rushed checks.
No. It helps identify observable concerns before use. Servicing and competent technical inspections remain necessary for systems a driver cannot fully assess.
Only carry out tasks you are trained and authorised to perform using the correct procedure and equipment. Escalate anything outside that scope.
No. Adapt it to the specific vehicle. Trucks, trailers, buses, alternative-fuel systems and specialist equipment need additional checks and suitable instruction.








©2026 ADHINS Management Sdn Bhd. All Rights Reserved.